How To Draw Accurate Proportions Without Tedious Measuring - The Definitive Guide (2026)
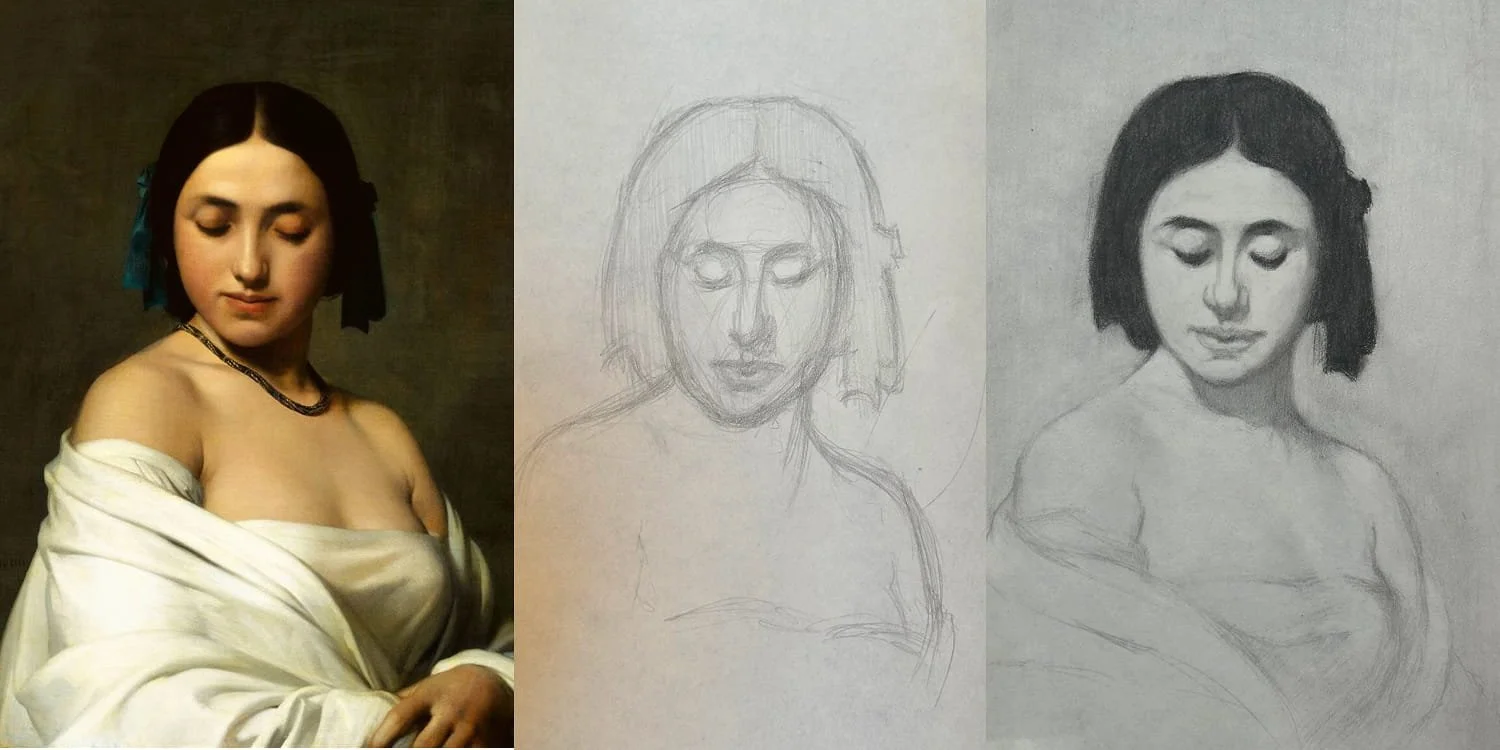
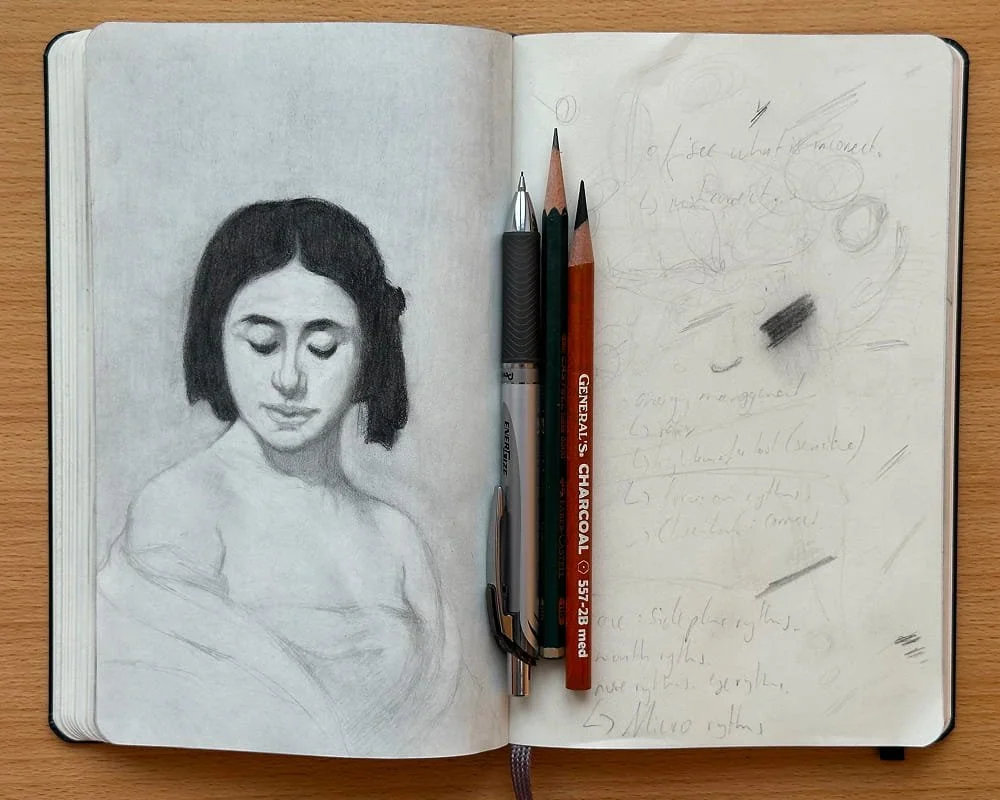
Master study of Hippolyte Flandrin.
If you want to draw realistically, you probably know that accurate proportions are key.
Making the right marks, in the right places, is a must for drawing the figure, portraits and landscapes look like the real thing…but here’s the big BUT.
To get an accurate drawing, the only tool most teachers teach is measuring. And measuring feels tedious and boring.
Most drawing students wonder:
“Is there a way to get accurate proportions without the boring measuring?”
Yes there is! A way to get strong accuracy in your drawings, while having a fun, relaxed, enjoyable drawing process.
By the end of this article you’ll be able to apply it to your drawings.
Let’s begin.
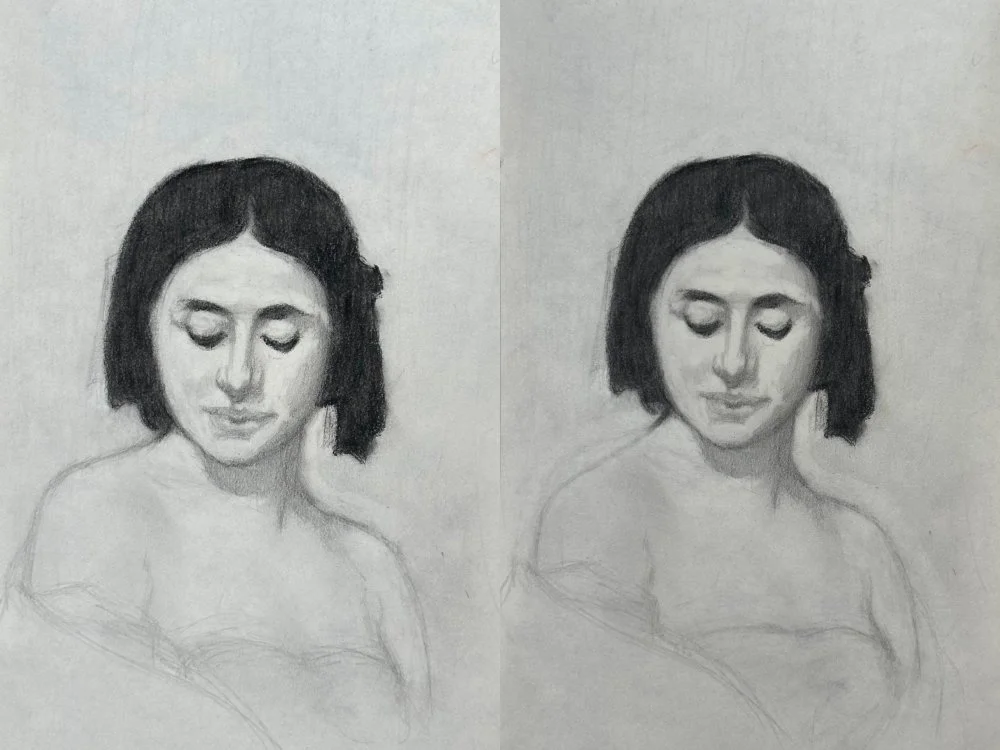
Tip 1: The more is on paper, the easier and more natural it becomes to see accuracy mistakes.
Notice how it’s easier to judge the shape of the face, once there is dark tone around it.
This is the key principle that the other points build on, and once you understand it, it will transform the accuracy of your drawings.
The more visual information you have on the paper, the easier it becomes to judge what is right or wrong.
On the flip side, if you make one mark on a white piece of paper, and try to judge if that mark is correct… it’s very tough, even for a professional artist.
So your first goal is to add some visual information on the paper. But here are a few tricks to keep in mind.
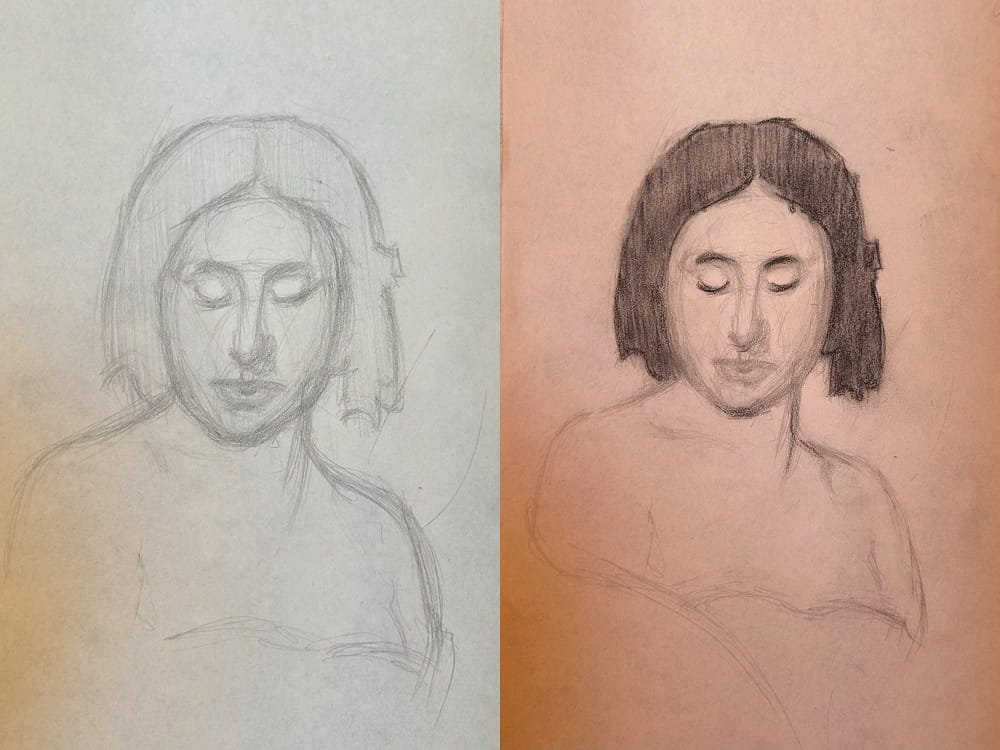
Tip 2: Use a drawing process that allows mistakes.
Ok, we know we need to add more visual information before we can easily improve the accuracy of our drawing….
But how do we do that, if draw a dark black line on the paper that we can’t erase?
Good point: don’t draw that dark black line.
Instead make a light, soft mark.
This is a trick I learned from oil painting.
In oil painting you can start painting thinly in the beginning, without any worries that what you put on the canvas will later show. It wont. You can layer many times.
We want that kind of process in drawing as well, a process that allows us to layer and course correct.
To get that you need to draw lightly in the beginning. You can use an HB or 2B pencil… and also hold it so the graphite barely touches the surface.
Ok, you are drawing lightly to allow yourself room for error, aiming to get visual information on the paper to judge the accuracy better. What shoud your draw first?
Tip 3: Don’t measure. Instead design shapes, values and rhythms.
Despite obvious measurement mistakes, the shapes, values and rythms of the drawing already feel coherent at this stage.
This was a big epiphany that I learned from my teacher Chris Legaspi, on my quest for more accurate drawings:
Design > Measuring.
Here’s what I mean:
When you do the first lay-in of your drawing, instead of obsessing over measuring every little distance, try instead to capture the basic shapes, values and rhythms.
If your shapes, values and rhythms are not 100% perfectly accurate, but they “feel” close to the nature of your reference, then you’ll have great accuracy.
Ask yourself these questions while drawing:
What are the big shapes in the drawing, and what is their nature? Do they feel pointy? Do they feel triangular? Do they feel round or square? Using a light pencil as per tip 1, try and capture those shapes.
Next, what is the simple 2 value statement of the drawing? Which parts do you identify as dark mass, which ones as light? Lay the tone in lightly with your pencil.
Rythms: What are the big rhythms of the drawing… Meaning: If you’d draw invisible lines through the drawing, which connect all pieces together, which ones would those be?
Congrats, you went from copying to designing. What’s next?
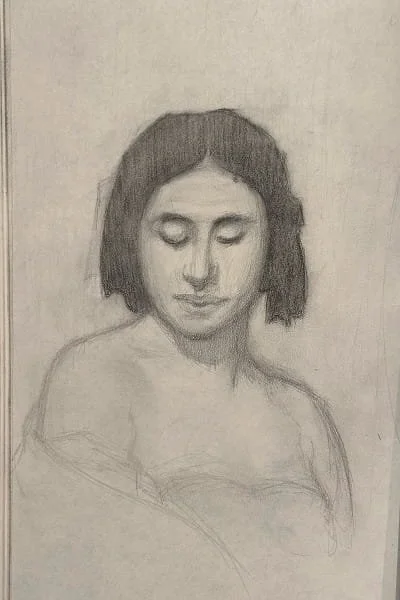
Tip 4: Drawing is like editing a piece of writing.
Think of your drawing like a piece of writing. Only add marks that add to the story. Remove the ones that say nothing. Keep editing until everything flows.
When you write something you go through stages.
You write your first draft. You edit and change everything.
You edit again, and change a bit less. You edit again and the piece of writing is tight.
Drawing is exactly the same.
Once you got your first round of marks done, the initial design is there, it’s time to step back and assess…
What shapes need tweaking?
Where does the 2-value statement not read clearly?
What parts of the drawing feel disconnected?
Think of drawing as a bunch of editing rounds. You identify what should be better, and make it better.
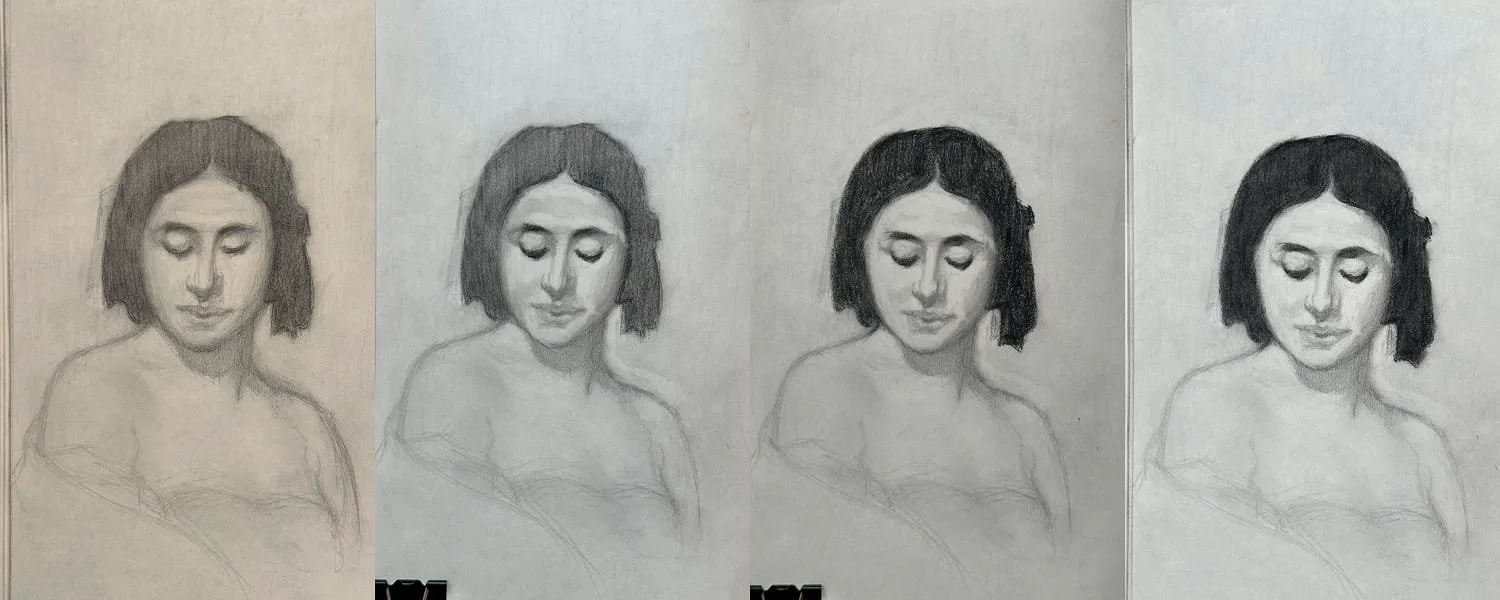
Tip 5: Make small commitments.
Notice how the left shoulder (from our point of view) was too high the whole time. I didn’t notice it. Luckily the mark was a small commitment and easily erasable, so I could correct it.
The first biggest mistake you can make is to draw a dark thick line, heavily into the paper, as your first mark.
You overcommitted to a mark that is very likely wrong… and your drawing is destined to fail.
The second biggest mistake is to only draw light thin lines and never stop doing that.
The result is a light drawing, that never reaches it’s finish.
The first mistake is one of over-commitment. The second mistake is never committing at all.
Drawing is a game of making small commitments through marks on paper, then assessing and correcting those, and then making another round of small commitments.
As the drawing builds, and each mark improves the drawing, you start to commit more and more.
Tip 6: “Feel” instead of “Measure”.
When looking back and forth between your drawing and your reference, instead of measuring with a yard stick, try instead to pay attention to your feelings.
Does the shadow area feel scratchy and not uniform? -> Make it more uniform.
Does the line feel bumpy and timid? -> Correct it until it feels confident.
Does the arm feel disconnected from the figure? -> Refine the rhythms until it “feels” connected.
Your feeling is a great guide. If it feels correct, it often is. If it feels incorrect, pay attention to the why, and correct it.
Tip 7: Use intuitive measuring techniques.
Once measuring techniques become subconscious, and you combine them with feeling, design and the other tips in this guide, accuracy becomes easier to attain.
Lastly, of course you need to use some measuring techniques to get accurate drawings.
But here’s the thing.
You just need a handful of techniques, and ideally they become part of the way you draw.
They become unconscious habits that you don’t need to pay attention to, so you can focus on the design. Here are some intuitive measuring techniques:
Ghosting lines. Make it a habit to hover over your drawing, rehearsing the mark you intend to make before making it. Just practicing in air will tune your hand into the mark, and make it more accurate.
Triangulation. When making a mark, compare it’s distance to two other points in the reference. Drawing is about relationships, so always relate your mark to the rest of the drawing.
Placement lines. A vertical and horizontal center line, defining the top, bottom, left and right of your drawing… Big placements like these are always a helpful tool in your toolbag.
Angles. Whenever making a mark, be aware of the angle. Is it 45 degrees? Is it 30 degrees? Awareness of your angles becomes a habit and improves accuracy.
Negative space. Pay attention to the space between your main shapes. Making those more accurate improves your shapes indirectly.
The goal is for these measuring techniques to operate on auto pilot in the background, while you focus on the other fun stuff.
Closing Thoughts
I’d like to leave you with a quote of the great painter Sean Cheetham who said measuring is his last resort. Only when everything else fails, will he take out a stick to measure... and his paintings are very realistic and accurate.
So I hope you learned that accuracy does not have to come with boring and tedious measuring, if you infuse your process with a knowledge of design, feeling and other accuracy tricks.
Now, if you liked this article and want to dive deeper into some of the foundational drawing skills mentioned, make sure to check out Foundations of Realism below.
Until next time!